The JPRO Diagnostic Tool is a powerful tool for fleet managers and technicians, allowing for comprehensive diagnostics of commercial vehicles. To connect JPRO Diagnostic Software to off-highway equipment, you’ll need to ensure that the software and hardware are correctly set up to interface with the equipment’s electronic control units (ECUs). JPRO is primarily known for heavy-duty on-highway vehicles, but it also supports off-highway equipment diagnostics. Below are the steps to get started with connecting JPRO to off-highway equipment.
Preparations:
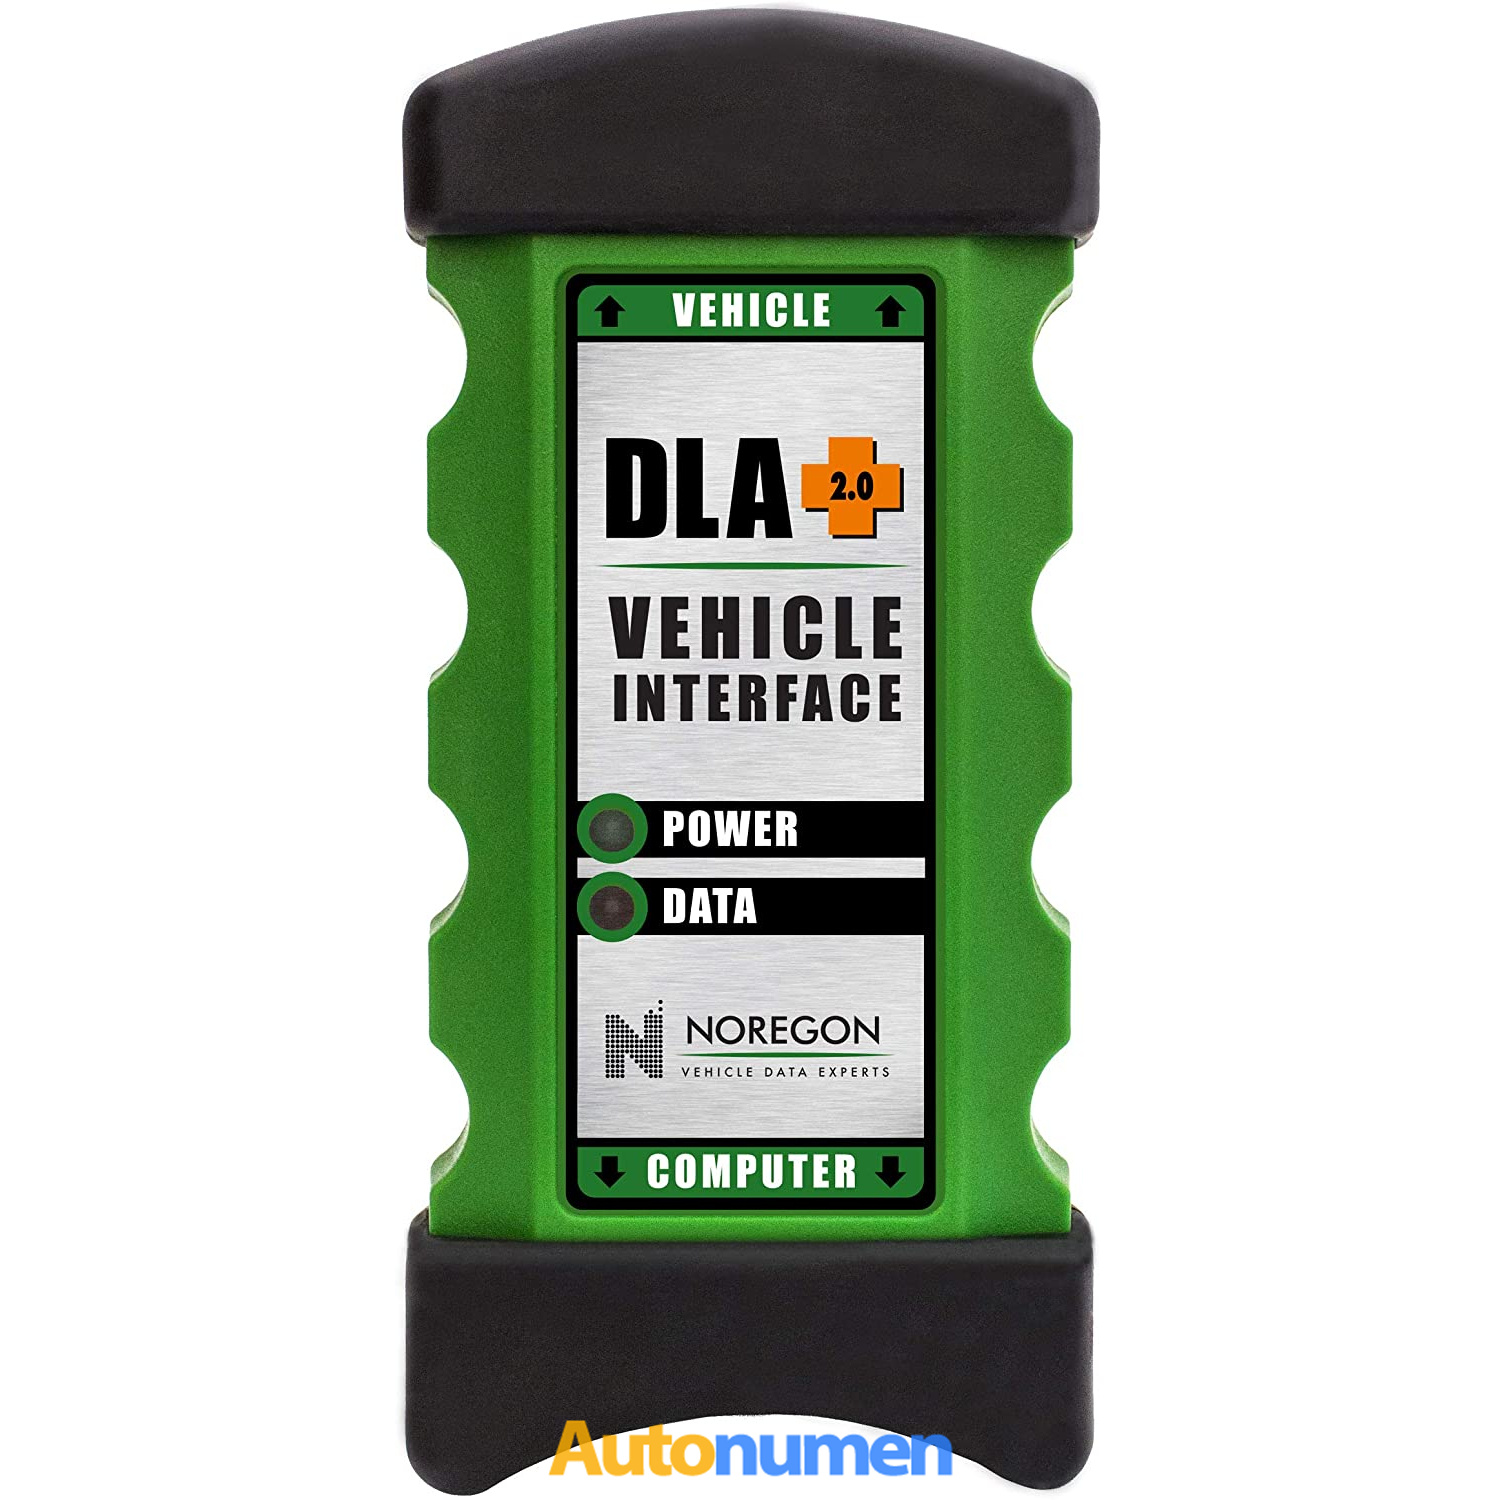
Noregon JPRO DLA+ 2.0 Adapter
Steps to Connect JPRO Diagnostic Software to Off-Highway Equipment:
1. Install JPRO Diagnostic Software:
Ensure you have the latest version of JPRO Diagnostic Software installed on your computer.
JPRO has an add-on for off-highway diagnostics, so make sure you have purchased and activated that package in the software.
2. Gather Necessary Equipment:
You will need:
JPRO DLA+ 2.0 Adapter or Nexiq USB-Link 2: These adapters are commonly used with JPRO to connect to off-highway equipment.
Off-Highway Adapter Cable Kit: Off-highway equipment often uses different connectors than on-highway vehicles (such as 9-pin, 16-pin, or other proprietary connectors). A cable kit specific to the manufacturer (e.g., Caterpillar, Komatsu, John Deere) might be necessary.
3. Connect the Adapter to the Off-Highway Equipment:
Locate the diagnostic port on your off-highway equipment. This is often an OBD-like connector or a manufacturer-specific port.
Use the appropriate cable from your adapter kit to connect the JPRO DLA+ 2.0 or Nexiq adapter to the diagnostic port of the equipment.
Connect the other end of the adapter (USB) to your laptop.
4. Power Up the Equipment:
Turn the ignition key or power on the off-highway equipment. This is necessary for the equipment’s ECU to communicate with JPRO.
5. Launch JPRO Software:
Open JPRO Diagnostic Software on your laptop.
Ensure that the software detects your adapter. If it does not, verify that the adapter drivers are installed correctly and restart the software.
6. Select Off-Highway Mode:
Once JPRO is running, navigate to the appropriate menu for off-highway diagnostics.
Select the Off-Highway Equipment option, which will activate the relevant modules within JPRO.
7. Establish a Connection with the Equipment:
Click the Connect or Auto Detect button within JPRO. The software will scan the ECUs on the equipment.
Depending on the equipment manufacturer, JPRO should be able to connect to major systems like the engine, transmission, hydraulic systems, and more.
8. Perform Diagnostics:
Once connected, you can:
Read and clear fault codes for different systems like the engine, transmission, and hydraulics.
View live data to monitor sensor outputs and other critical parameters.
Perform bi-directional controls and functional tests, such as running injector tests, fan control, and actuator commands.
Reflash ECUs if needed, depending on the functionality of your JPRO version and the equipment’s ECU capabilities.
9. Log and Save Data:
JPRO allows you to log data during diagnostics, which can be useful for detailed troubleshooting or reporting. Ensure you save diagnostic reports or export them as needed.
Additional Considerations:
Cable Compatibility: Off-highway equipment often requires specific diagnostic cables. Confirm that the cables in your adapter kit are compatible with the equipment’s diagnostic port.
Supported Equipment: JPRO’s off-highway support includes major manufacturers such as Caterpillar, Komatsu, and John Deere. However, verify that the specific model of your equipment is supported.
ECU Access: Some advanced features such as ECU programming or calibration may require additional licensing or specific manufacturer approvals within JPRO.
Following these steps should enable you to connect and use JPRO for diagnostics on off-highway equipment effectively.

Leave a Reply