The post is aimed to guide USB OBDII car scanner users to Bluetooth connect their devices to Windows PC through ScanMaster-ELM software.
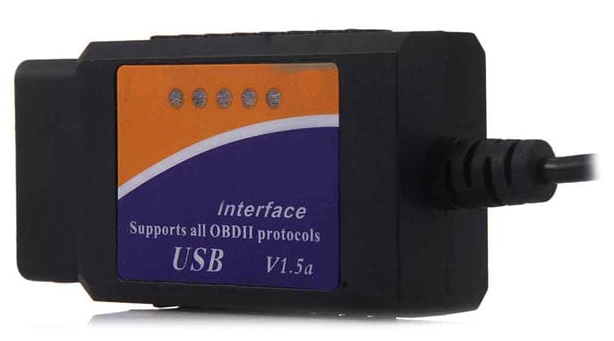
The OBDII diagnostic car scanner (with USB interface cable) is the latest PC-based scan tool and supports all OBD-II protocols and is dispatched with a number of compatible programs. Follow the steps to connect your OBDII auto car diagnostic scanner to Windows PC:
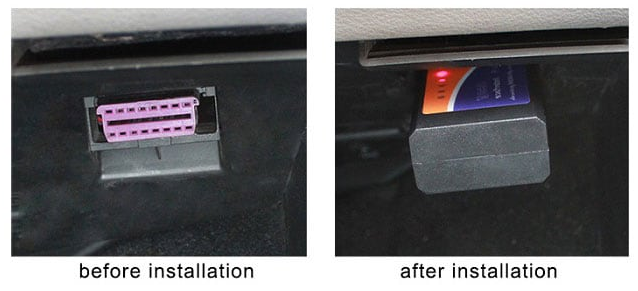
1. Install the USB interface OBDII car scanner on your car.
2. Install ScanMaster-ELM software (ScanMaster-ELM V2.1) on your Windows PC.
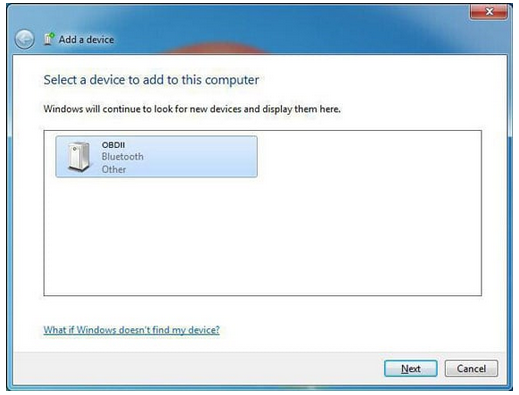
3. Open Windows PC’s Bluetooth, then click “Add a Device” and search OBDII car scanner’s Bluetooth.
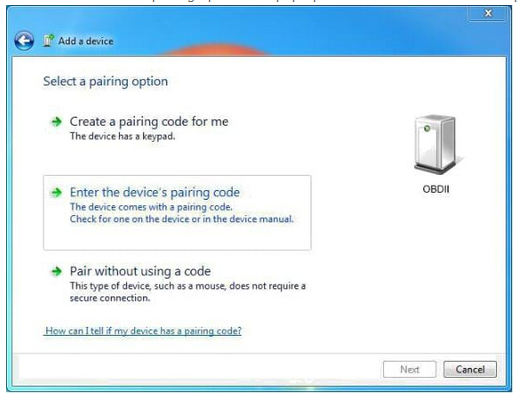
4. Double-click “OBDII” then “Select a pairing option” will pop up. Choose “Enter the device’s pairing code”.
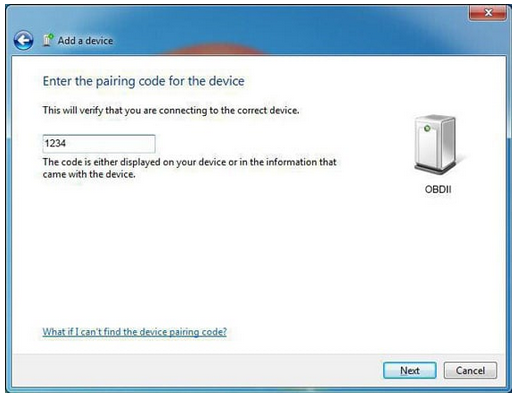
5. Enter pairing code “1234”, click “Next”.
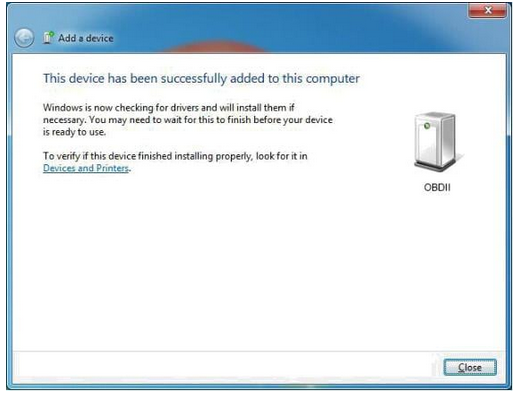
6. The USB OBDII diagnostic car scanner has been successfully added to this Windows computer.
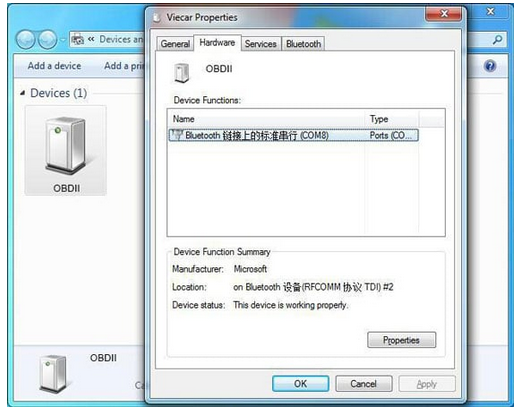
7. Open Show Bluetooth Devices on your Windows PC and get OBDII Device Functions’s COM Ports.
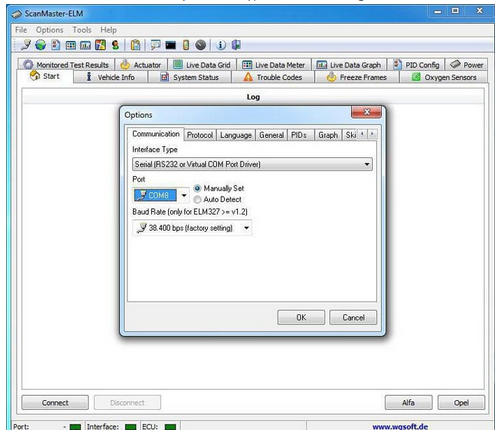
8. Run ScanMaster-ELM and click “Communication” setting port, choose Serial (RS 232or Virtual COM Port Driver; Protocol choose Automatic) interface type. After the setting, click “OK”.
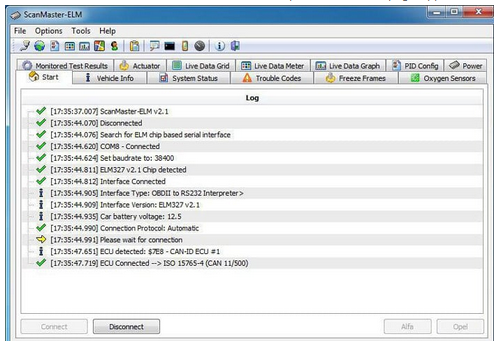
9. Click “Connect”, the whole Bluetooth connection is completed and follow page appears.
We hope this post has been clear and simple in solving your OBDII auto diagnostic scanner Bluetooth connection issues. If you have purchased the said Autonumen.com OBDII scanner tool from GearBest, do not hesitate to contact our Customer Support Center.
Leave a Reply